Local AI Image Generation
If you're on Windows and want to start generating images locally with as little friction as possible, I'd point you toward Lemonade. I tried the usual suspects first — ComfyUI and Automatic1111 — but neither really “just worked” for me out of the box. Lemonade did.
You can download Lemonade from https://lemonade-server.ai/. Before you install, check the https://github.com/lemonade-sdk/lemonade?tab=readme-ov-file#supported-configurations to make sure your setup is supported. Generally you'll want an Nvidia or AMD GPU with at least 8GB of VRAM for image generation, though the exact models you can run will depend on your hardware.
Once it's installed, you'll see a screen with available backends and models listed on the left.
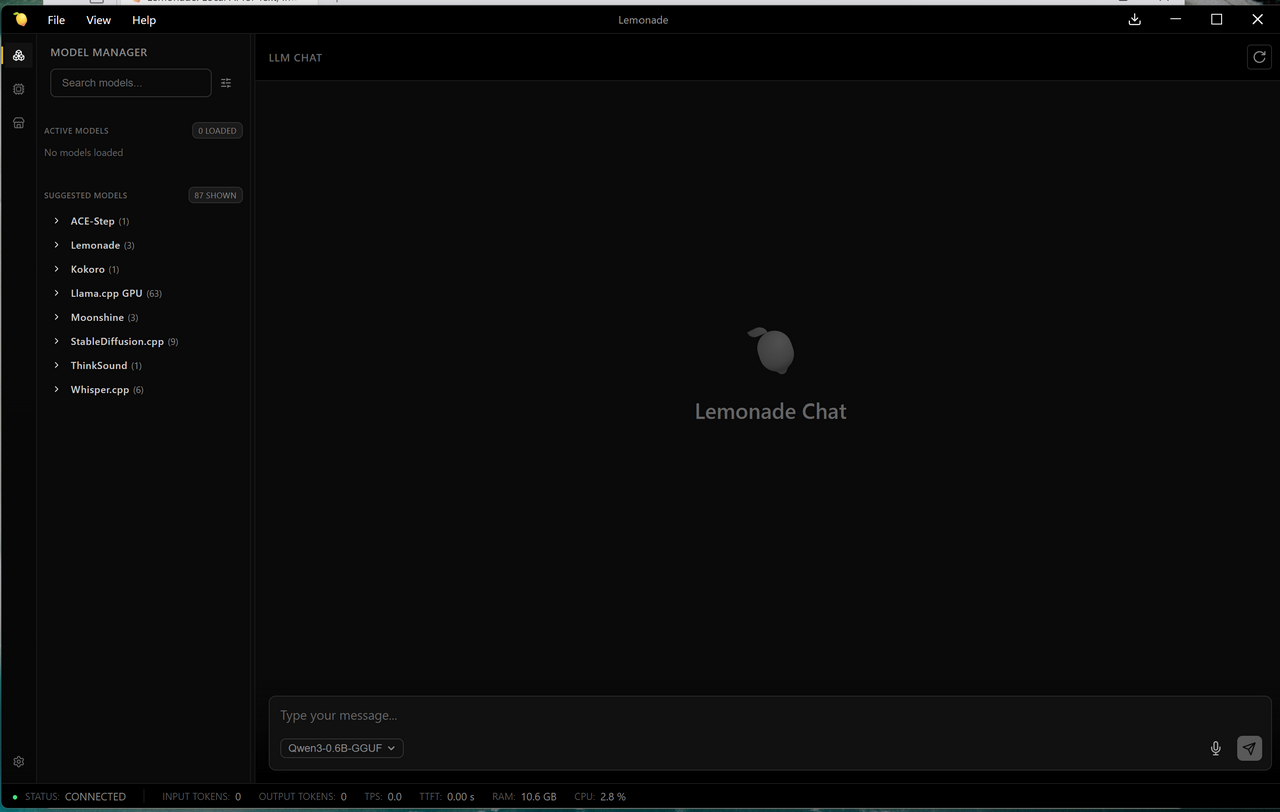
For image generation, pick StableDiffusion.cpp. You'll want a model that fits comfortably on your GPU — performance really matters here. I'm running a 12GB card, so I go with SDXL base or SDXL Turbo. Each model shows its size right next to it, so just pick something that leaves your GPU some breathing room.
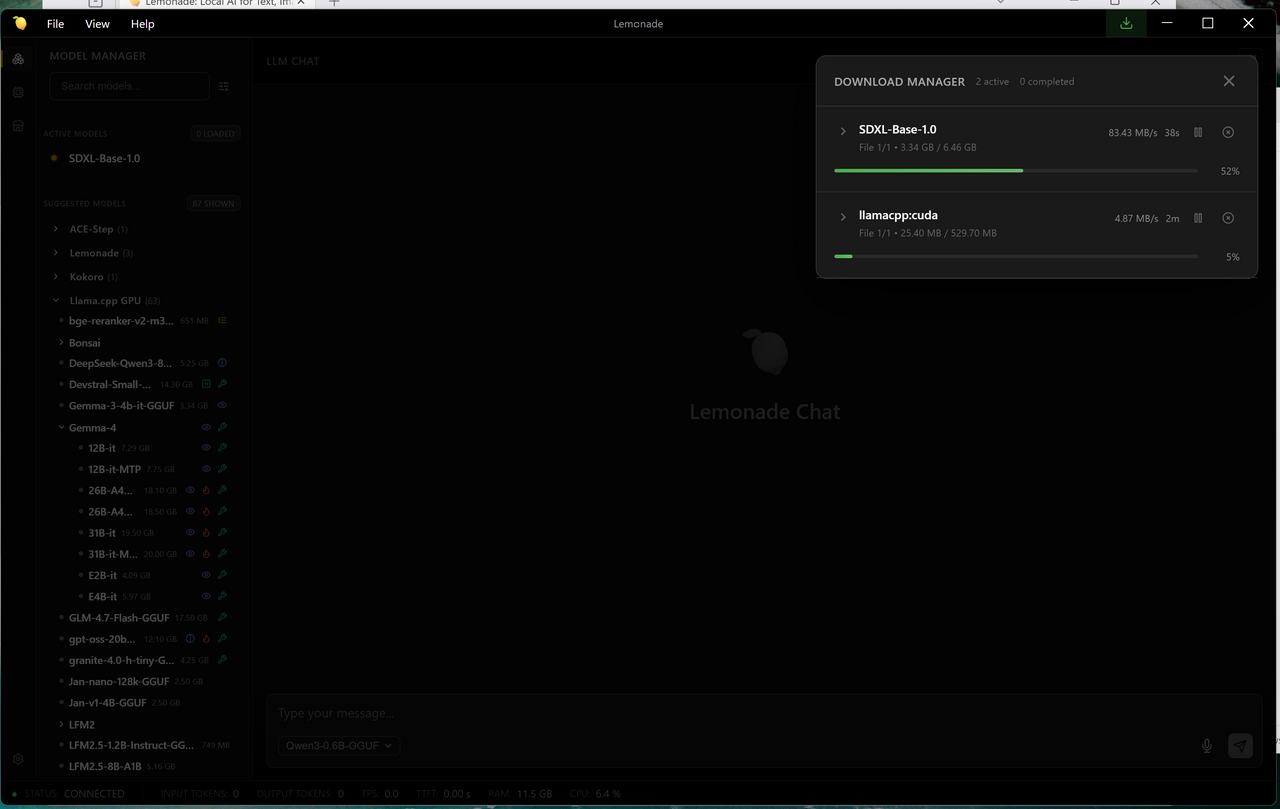
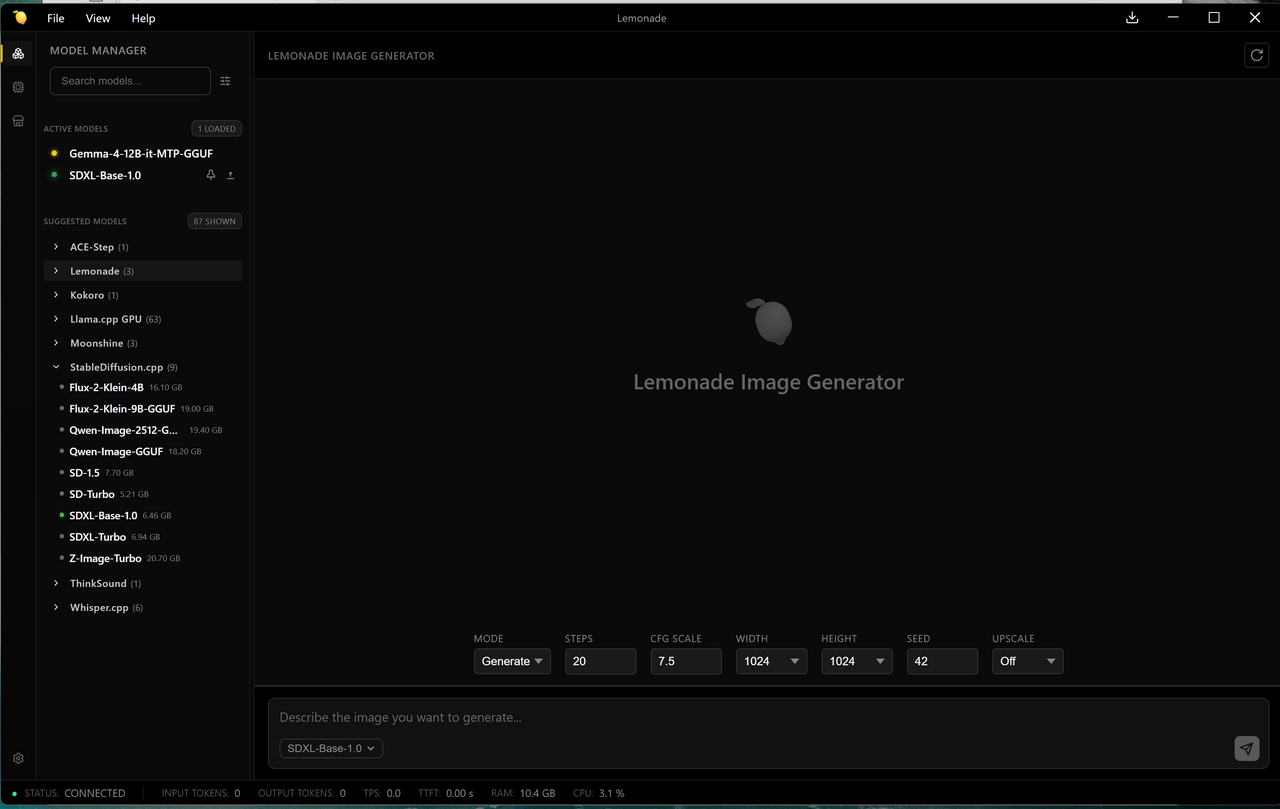
After the model downloads, select it again and confirm it shows up in the Lemonade image generator.
From there you can adjust the image size or turn on upscaling. There are other parameters too, but they can affect quality in ways that aren't obvious, so I usually leave the defaults alone unless I know what I'm doing. The seed controls the random starting point — change it if you want a different take on the same prompt. Defaults are fine if you're not sure.
Now just type your prompt. I went with “3 corgis running on the beach.” About thirty seconds later, I had my image.
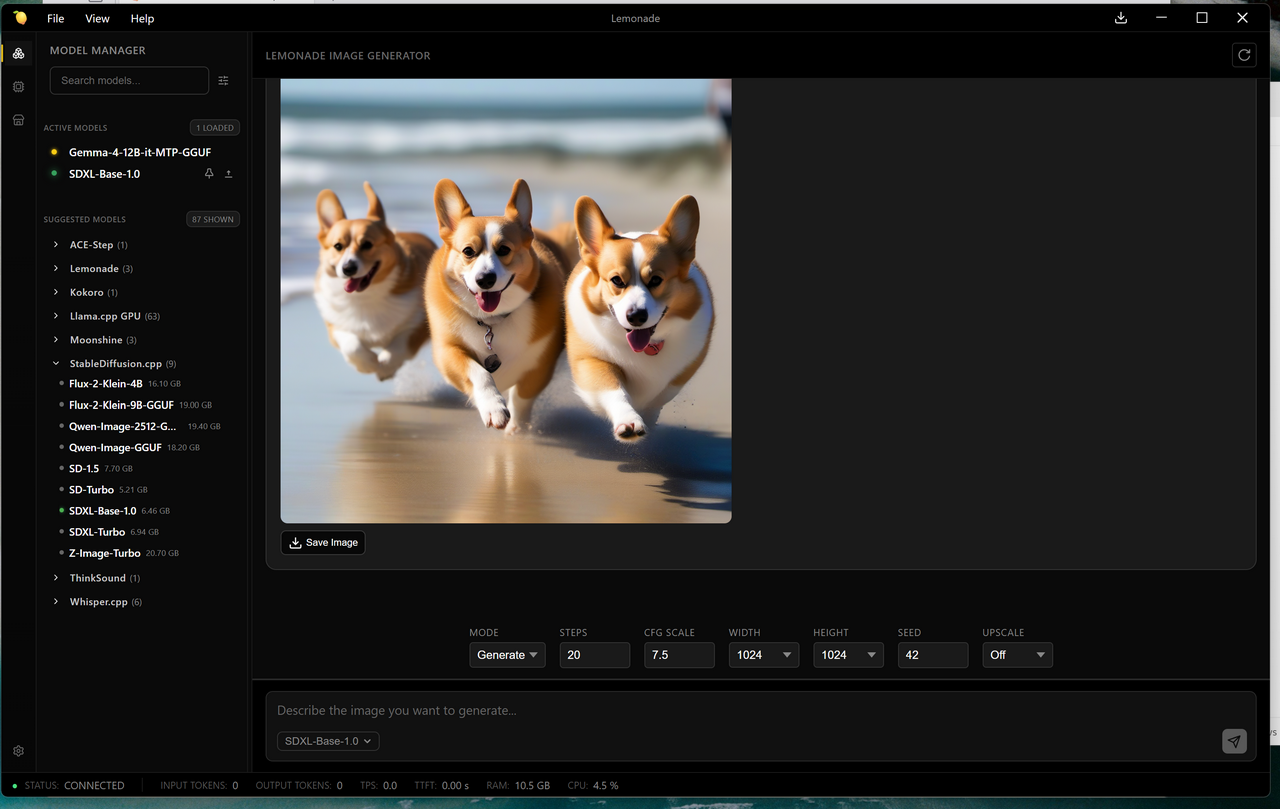
If you like it, click the save button to keep it. If not, tweak the prompt or settings and run it again. One thing I've noticed: the more descriptive and specific your prompt, the better the result tends to be.
If you've got a 24GB GPU or more, you can also experiment with heavier models like the Qwen or Z image models — those should give you noticeably better quality.
Happy image creation.