LocalMax

Local Open Source AI For All

If you're on Windows and want to start generating images locally with as little friction as possible, I'd point you toward Lemonade. I tried the usual suspects first — ComfyUI and Automatic1111 — but neither really “just worked” for me out of the box. Lemonade did.

You can download Lemonade from https://lemonade-server.ai/. Before you install, check the https://github.com/lemonade-sdk/lemonade?tab=readme-ov-file#supported-configurations to make sure your setup is supported. Generally you'll want an Nvidia or AMD GPU with at least 8GB of VRAM for image generation, though the exact models you can run will depend on your hardware.

Once it's installed, you'll see a screen with available backends and models listed on the left.
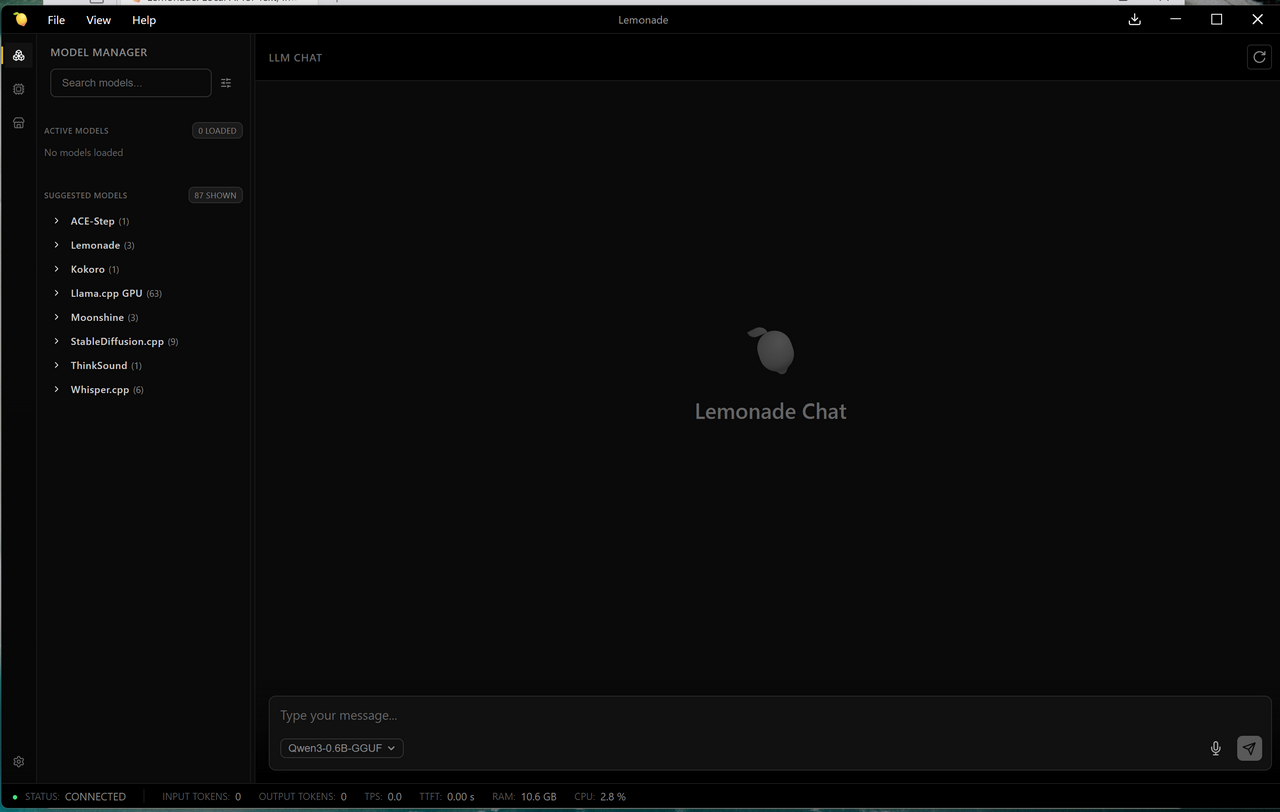
For image generation, pick StableDiffusion.cpp. You'll want a model that fits comfortably on your GPU — performance really matters here. I'm running a 12GB card, so I go with SDXL base or SDXL Turbo. Each model shows its size right next to it, so just pick something that leaves your GPU some breathing room.
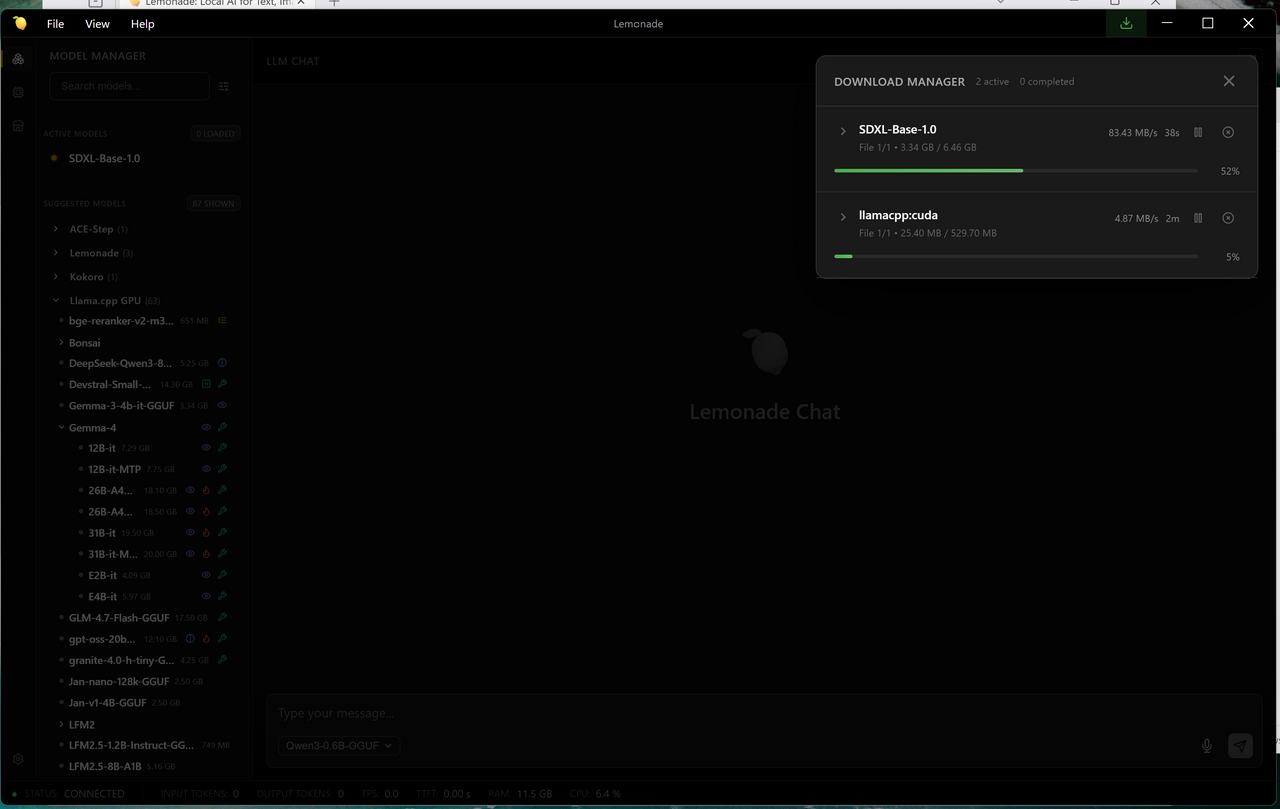
After the model downloads, select it again and confirm it shows up in the Lemonade image generator.

From there you can adjust the image size or turn on upscaling. There are other parameters too, but they can affect quality in ways that aren't obvious, so I usually leave the defaults alone unless I know what I'm doing. The seed controls the random starting point — change it if you want a different take on the same prompt. Defaults are fine if you're not sure.
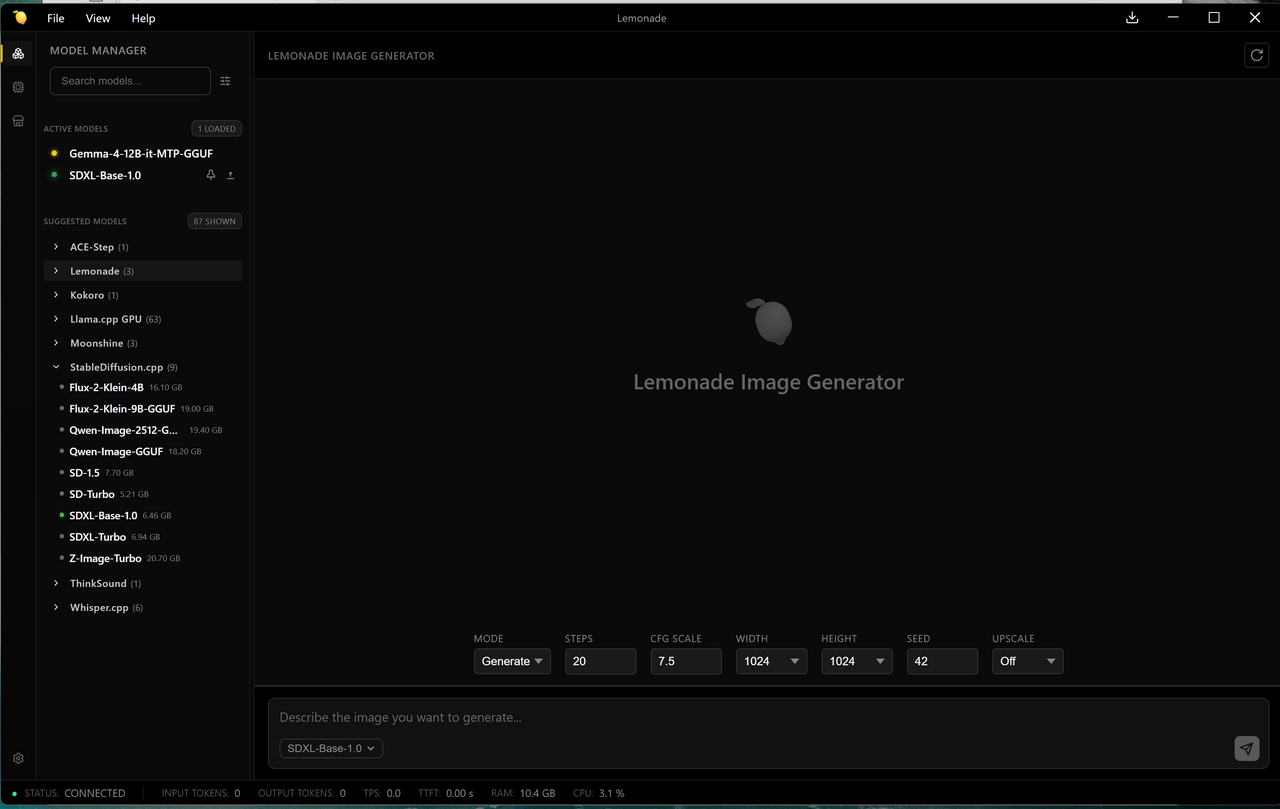
Now just type your prompt. I went with “3 corgis running on the beach.” About thirty seconds later, I had my image.
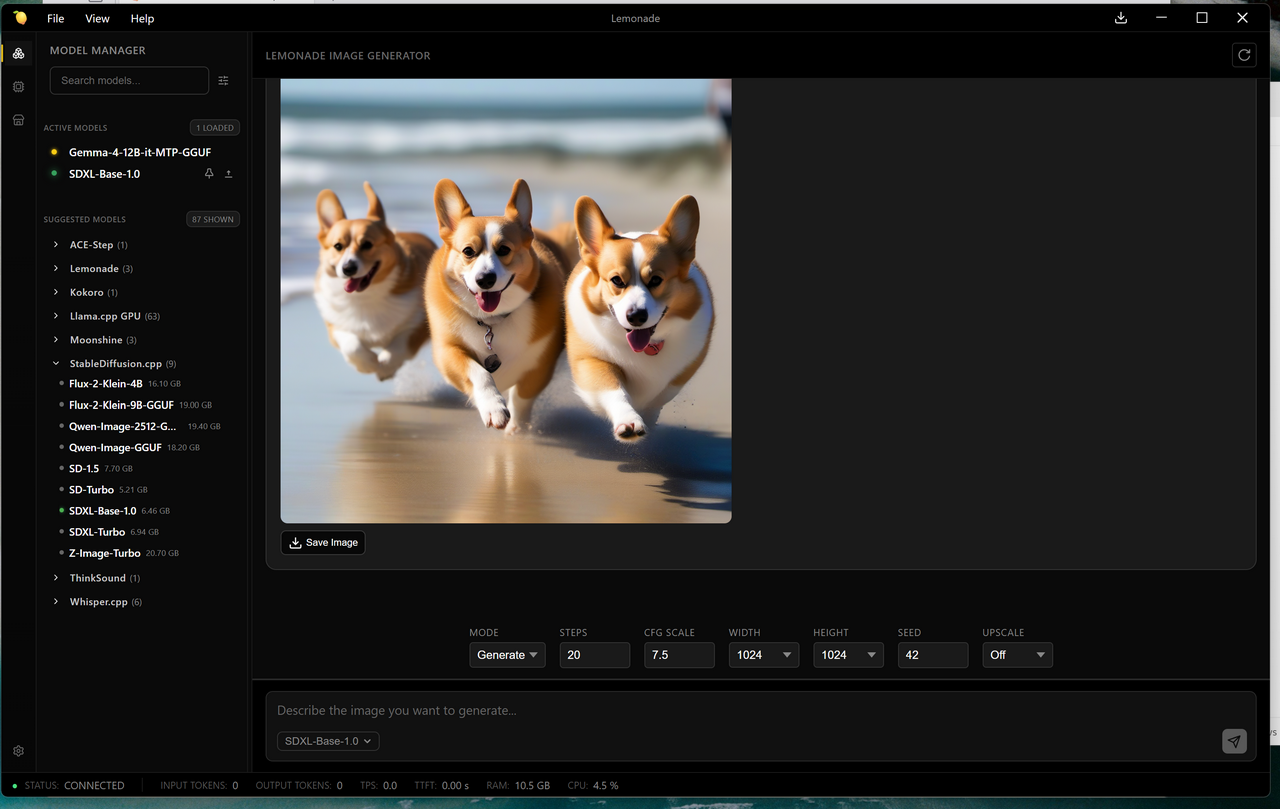
If you like it, click the save button to keep it. If not, tweak the prompt or settings and run it again. One thing I've noticed: the more descriptive and specific your prompt, the better the result tends to be.

If you've got a 24GB GPU or more, you can also experiment with heavier models like the Qwen or Z image models — those should give you noticeably better quality.

Happy image creation.
If you write code, an AI assistant can be a game-changer — and you don't need a cloud subscription to get one. Your local LLM can help with writing, debugging, refactoring, and explaining code, all without sending your code to anyone else's servers.

Here's how to set it up with VS Code and LMStudio.

Step 1: Enable the LMStudio Server

LMStudio can run as a background server that other apps connect to:

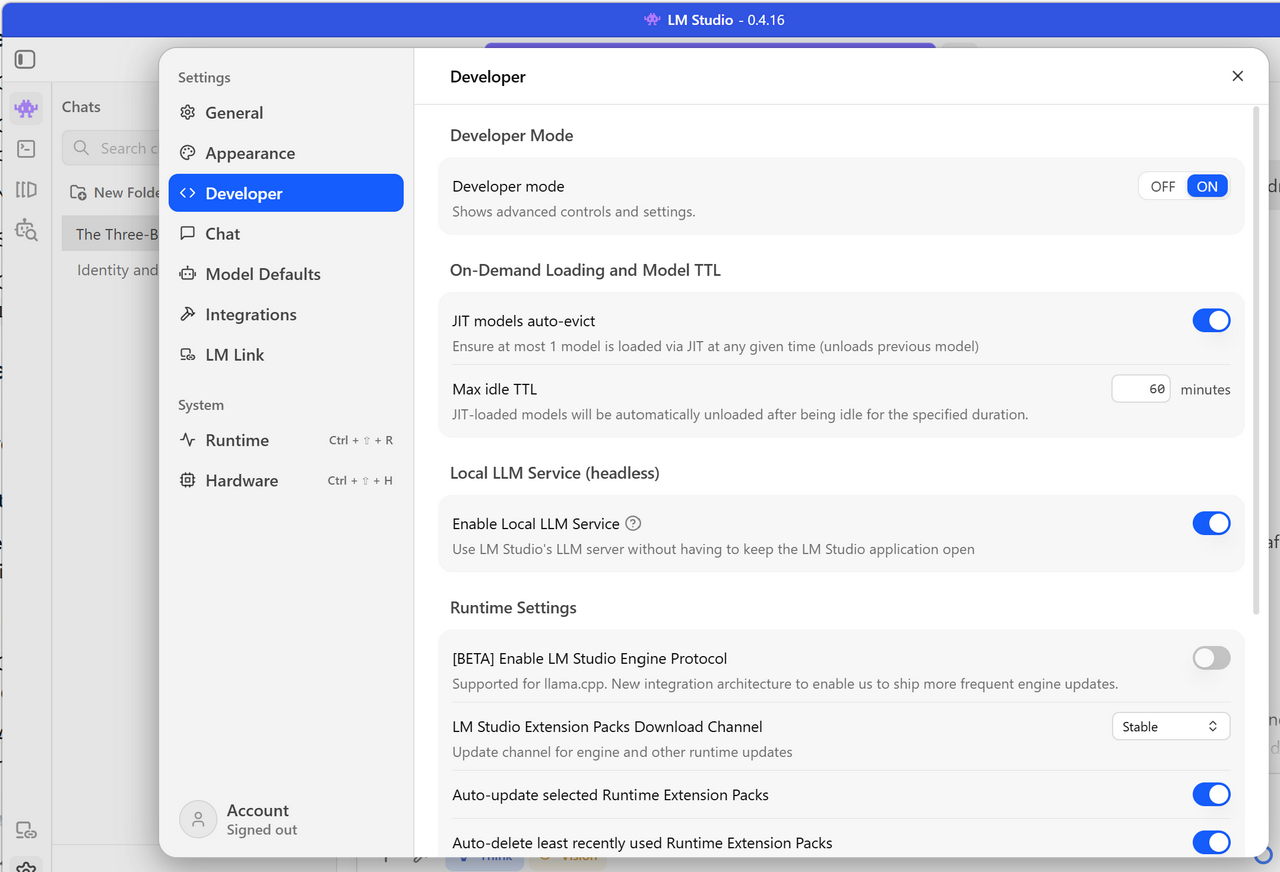
  1. Open LMStudio and click the Developer Settings icon (it looks like a gear or chip — enable developer mode if you haven't already)

  2. Scroll down to Local Server settings

  3. Toggle on Start Local LLM Service — this lets the model run in the background so you don't have to keep the LMStudio chat window open

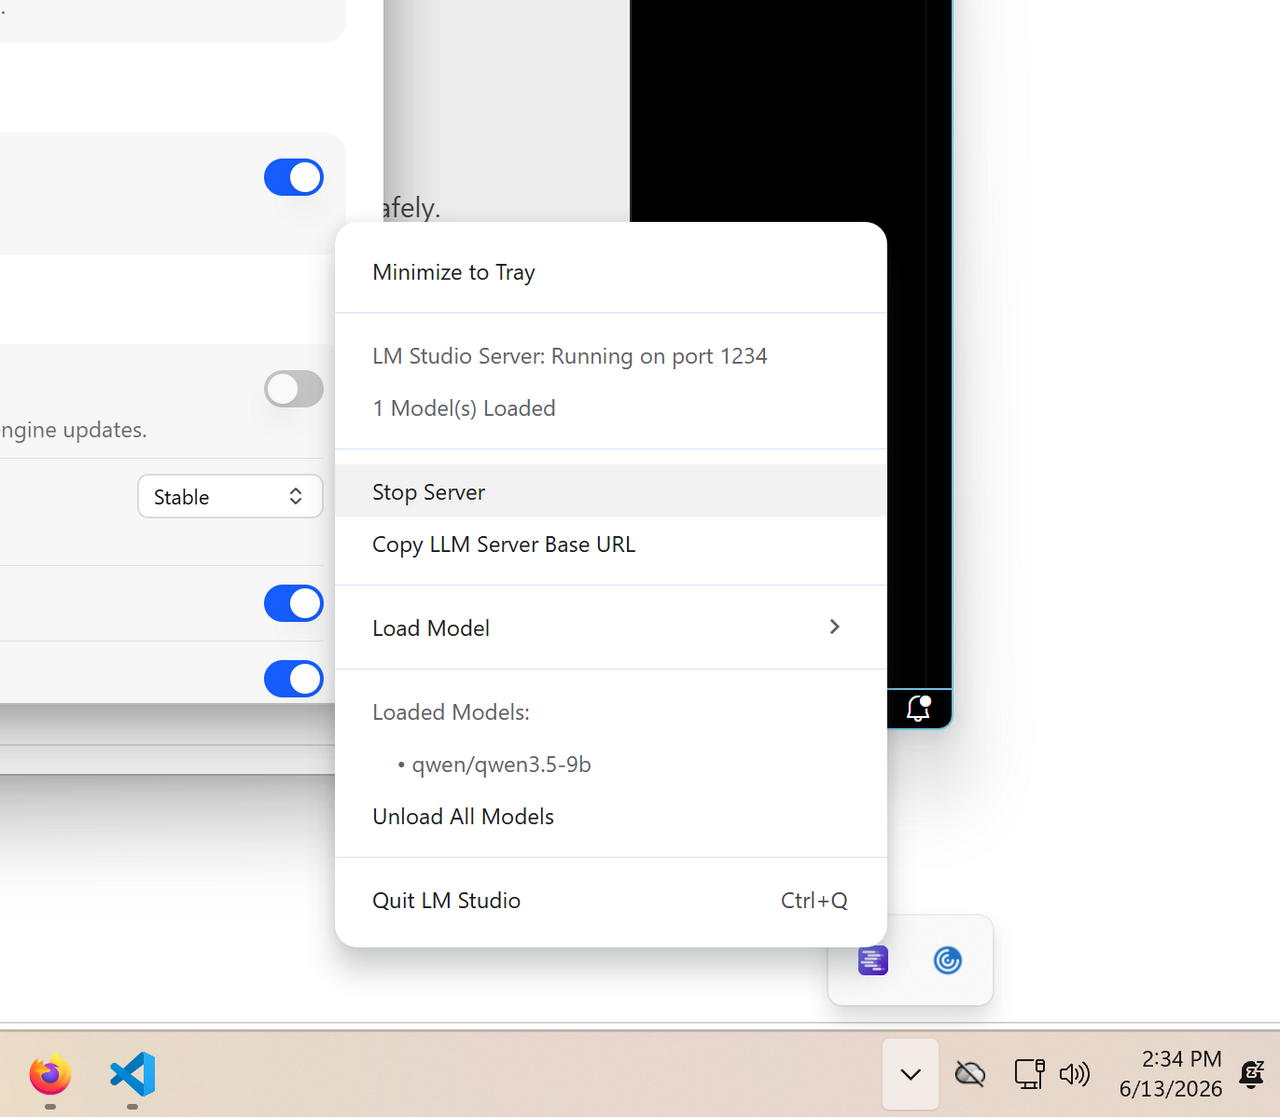
  4. Click Start Server (you can also access this from the system tray icon)

By default, LMStudio listens on localhost:1234. The server stays running as long as LMStudio is open (or as long as the background service is active).

Step 2: Install the Continue Extension

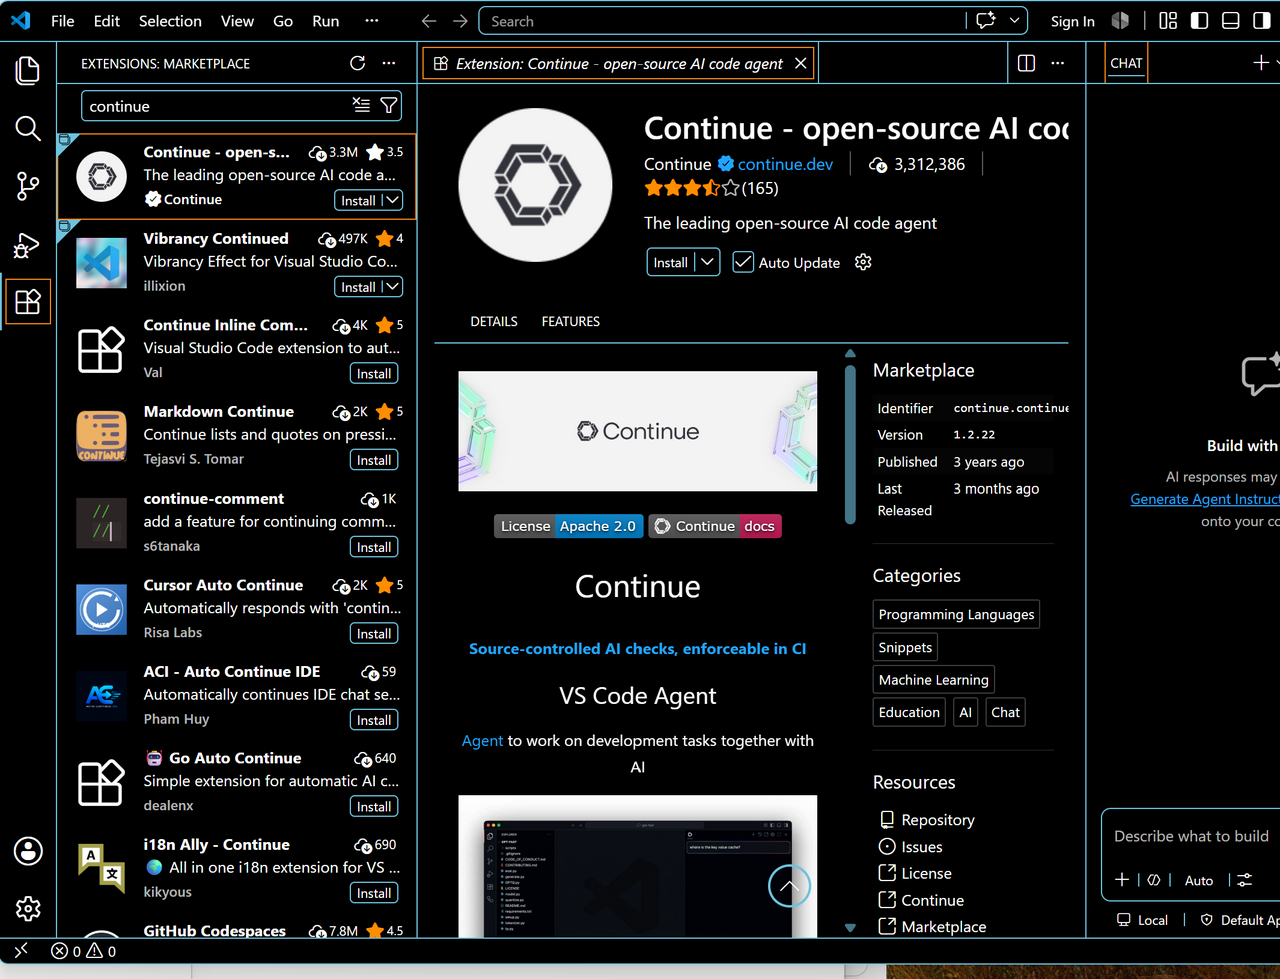
There are several VS Code extensions that connect to local LLMs. I use Continue because it's flexible, well-maintained, and supports multiple backends.

  1. Open VS Code and go to the Extensions tab (Ctrl+Shift+X)

  2. Search for “Continue” and install it

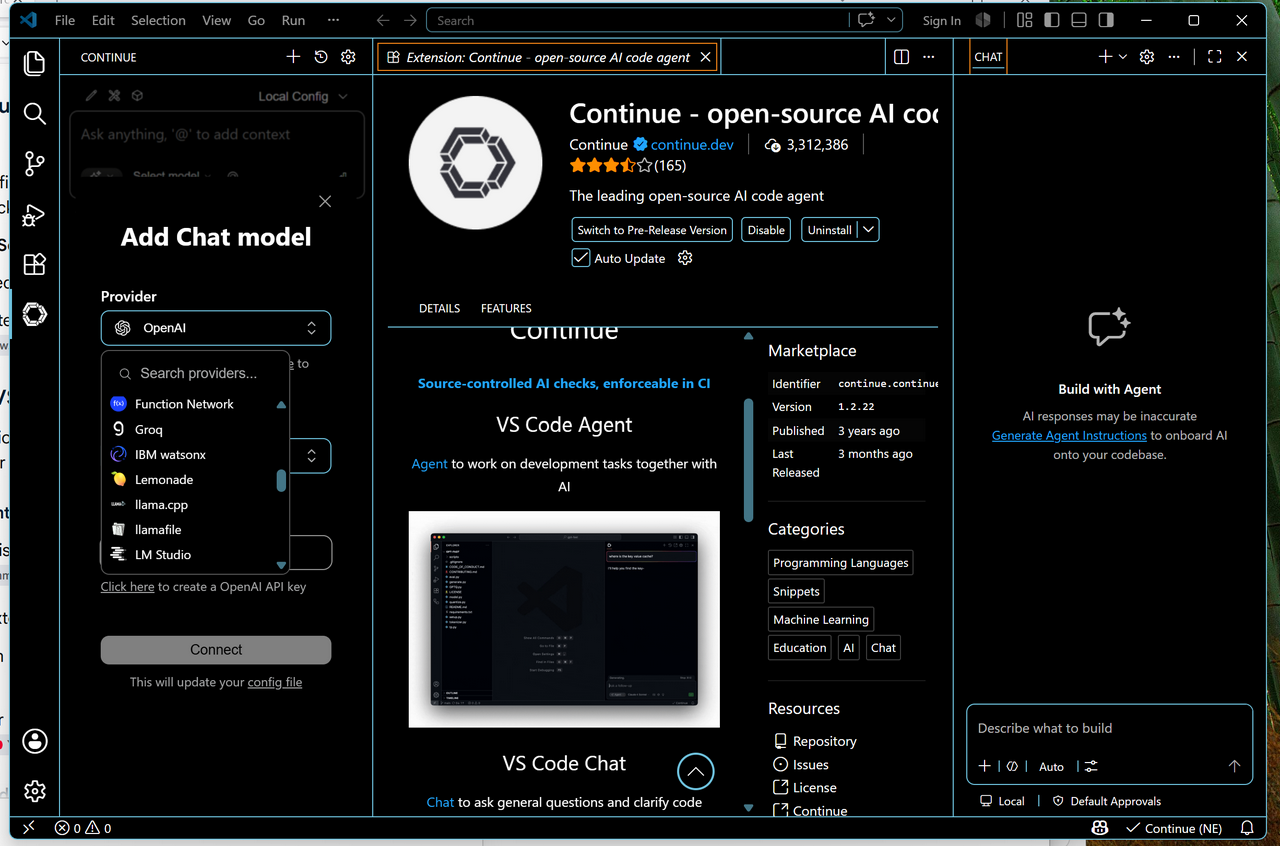
  3. It supports many providers — LMStudio, llama.cpp, Ollama, and more

Step 3: Connect Continue to LMStudio

In VS Code, open the Continue configuration (click the Continue icon in the sidebar → settings)

Add a new provider and select LMStudio

Set the API base to http://localhost:1234 (LMStudio's default)

Leave the model set to Auto — Continue will pick up whatever model is loaded in LMStudio

What Can You Use It For?

  • Explain code — highlight a function and ask what it does
  • Debug errors — paste an error message and ask for fixes
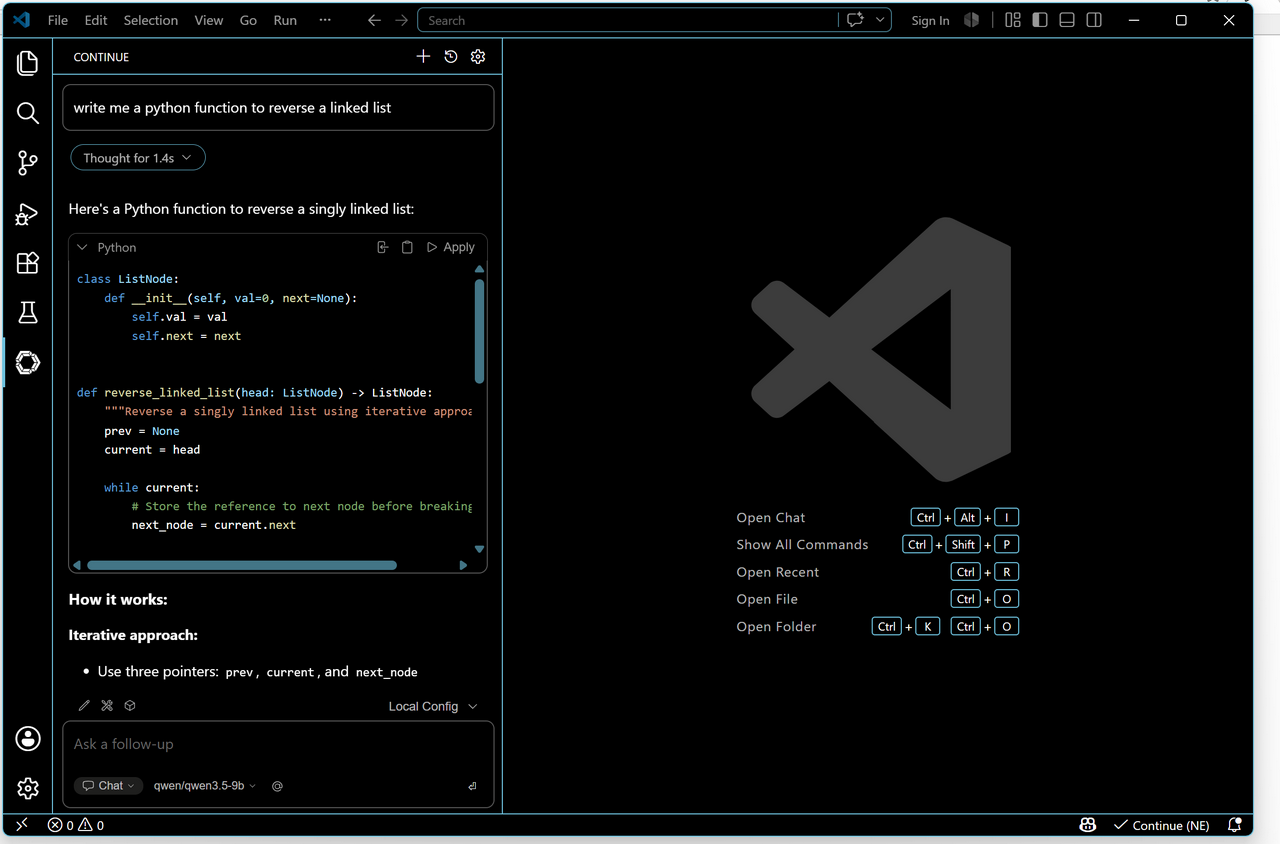
  • Generate boilerplate — “write a Python function that parses CSV and returns a list of dicts”
  • Refactor — “rewrite this to use list comprehensions”
  • Code review — paste a PR and ask for suggestions
  • Learn new languages — ask it to write examples or explain syntax

Tips

  • Use a bigger model for complex tasks. A 7B+ model will handle refactoring and architecture questions much better than a 3B model.
  • Give it context. Continue can read your open files — make sure relevant code is open when you ask questions.
  • The model isn't perfect. Always review suggested code. Local models are helpful but not infallible — especially on tricky edge cases.
  • Keep LMStudio running. If you want the server to start automatically, enable the background service in LMStudio's settings.

Alternatives to Continue

Continue isn't the only option. Other popular VS Code extensions for local LLMs include:

  • Continue (what I use — flexible, multi-provider)
  • Cody (by Sourcegraph — good if you're already in their ecosystem)
  • Codeium (free tier available, though the free tier uses cloud models)

If you're not using VS Code, LMStudio's server API is OpenAI-compatible, so most tools that support OpenAI endpoints should work — including JetBrains IDEs, Neovim, and more.

The simplest way to get up and running with local AI is LMStudio. It's a free, graphical app that works on Windows, Mac, and Linux, and it handles model downloading, loading, and chatting all in one place. No command line required.

What You Need:

Before you install anything, check your hardware. The most important spec is VRAM (video RAM) — the memory on your graphics card. This determines what size model you can run.

Minimum: 4 GB VRAM will work for small models (3–4 billion parameters). It's enough to get started, but you'll be limited in what you can run.

Recommended: 8 GB or more. This opens up 7–10 billion parameter models, which are where things start getting genuinely useful.

Ideal: 12 GB+. You can run 10–13 billion parameter models comfortably and still have room for context.

If you don't know your VRAM:

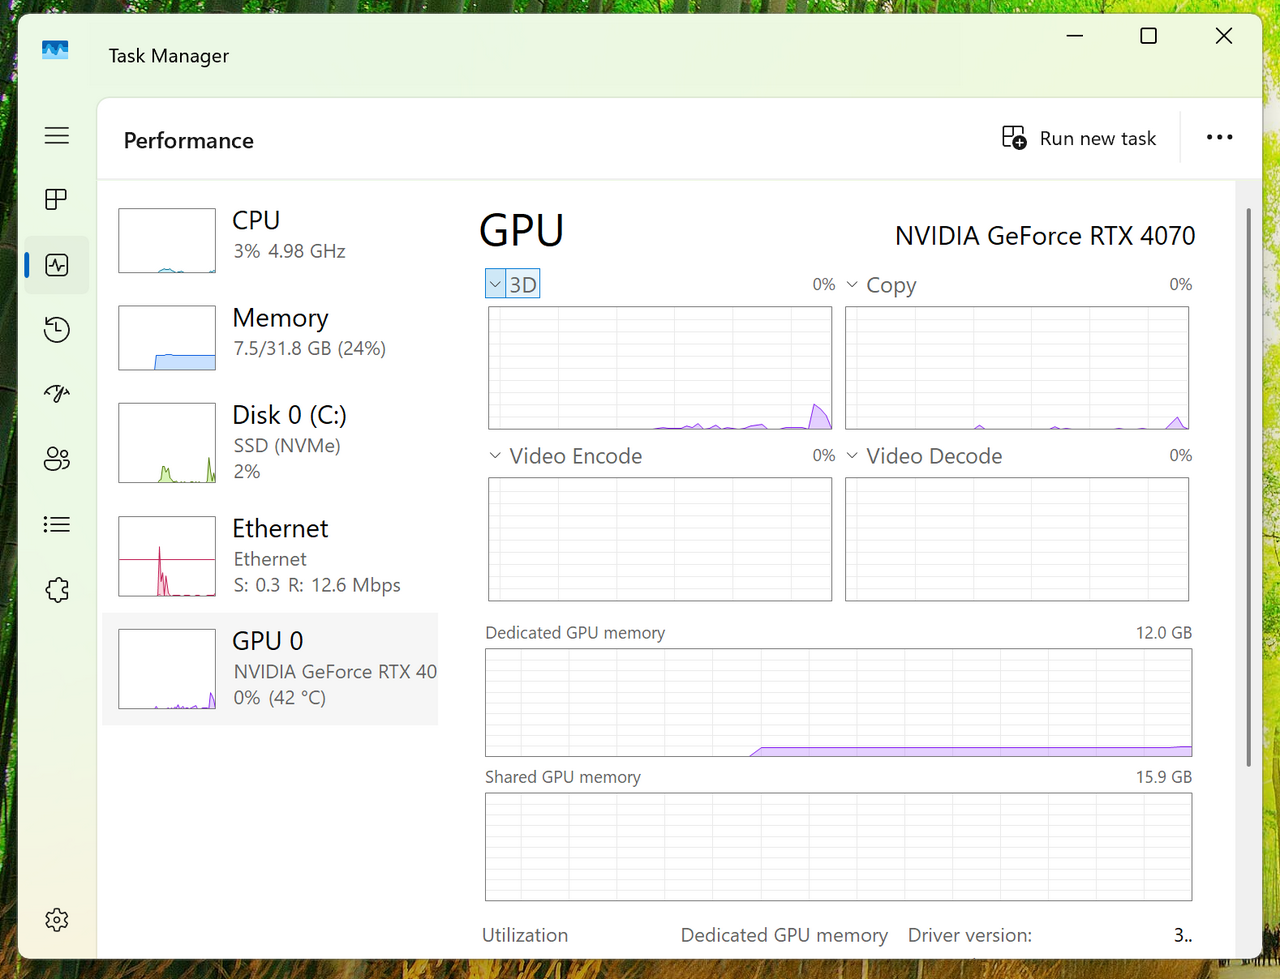
  • Windows: Right-click the taskbar → Task Manager → Performance tab → GPU 0 → look for “Dedicated GPU Memory”
  • Mac: Apple menu → About This Mac → Memory (all Macs with Apple Silicon share memory between CPU and GPU)
  • Linux: Run nvidia-smi in a terminal

How VRAM maps to model size: As a rough rule, 1 GB of VRAM ≈ 1 billion parameters at 8-bit quantization. 8-bit and 16-bit are the most common formats, but you'll also see 4-bit (smaller but slightly less accurate) and even 2-bit models for very constrained hardware.

My System Specs

Here's what I'm running:

  • CPU: Intel Core i9-14900KF
  • RAM: 32 GB
  • GPU: NVIDIA GeForce RTX 4070 (12 GB VRAM)
  • Storage: 2 TB NVMe SSD

With 12 GB of VRAM, I can technically fit a 12B model at 8-bit. But you also need room for the desktop, the KV cache, and context windows — so in practice, 8–10B models are where I run best.

Installation

  1. Download LMStudio from lmstudio.ai/download

  2. Make sure you get the right version for your system (x86 Windows for most PCs, but they also support Windows on ARM, Linux, and Mac)

  3. Run the installer and follow the prompts

  4. Launch LMStudio

Your First Model

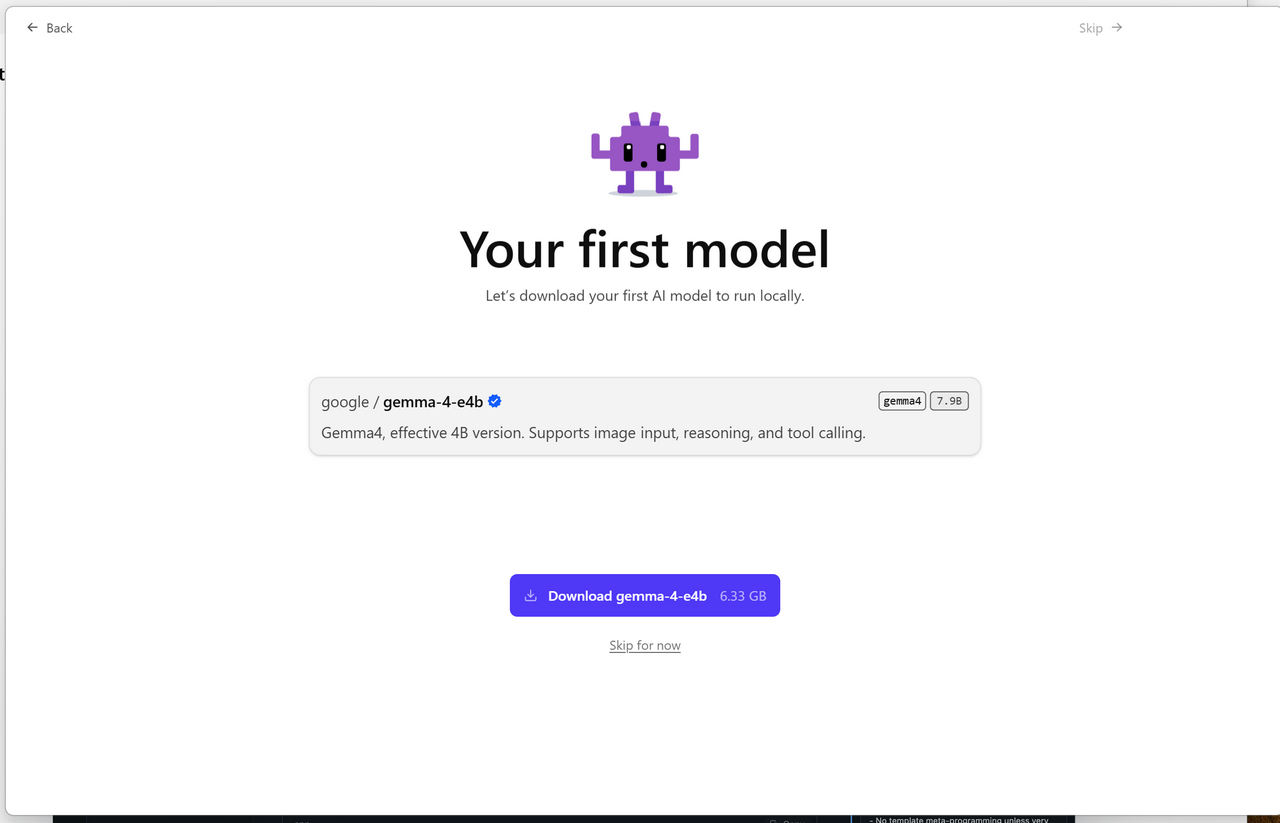
When you first open LMStudio, it will prompt you to download a model. It suggests one based on your hardware — go with it if you want a quick start, or skip ahead and pick something else.

On my system, it recommended Gemma 4B. That's a small model, so there's probably room for something bigger — but it's a safe choice to verify everything works. The download might take a few minutes depending on your connection.

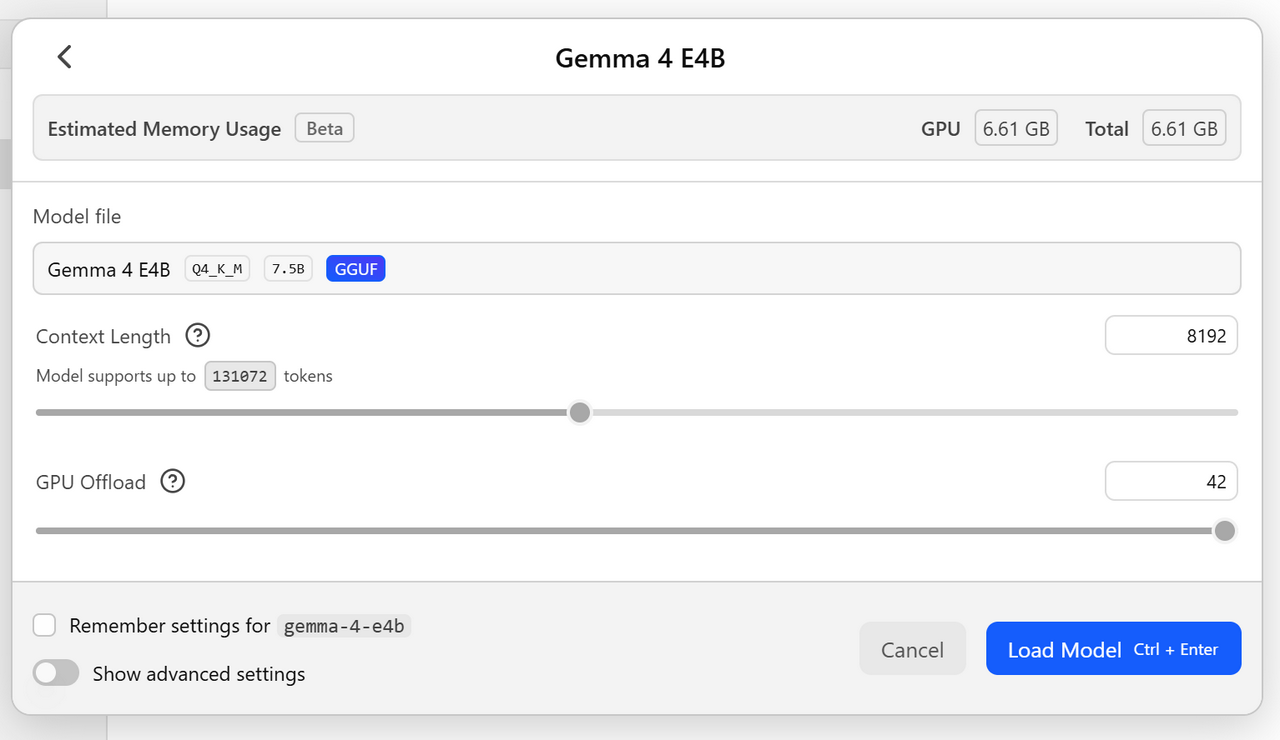
Once it finishes, LMStudio opens to the model screen. Click Load to load the model into memory. When it's ready, you'll see a green indicator.

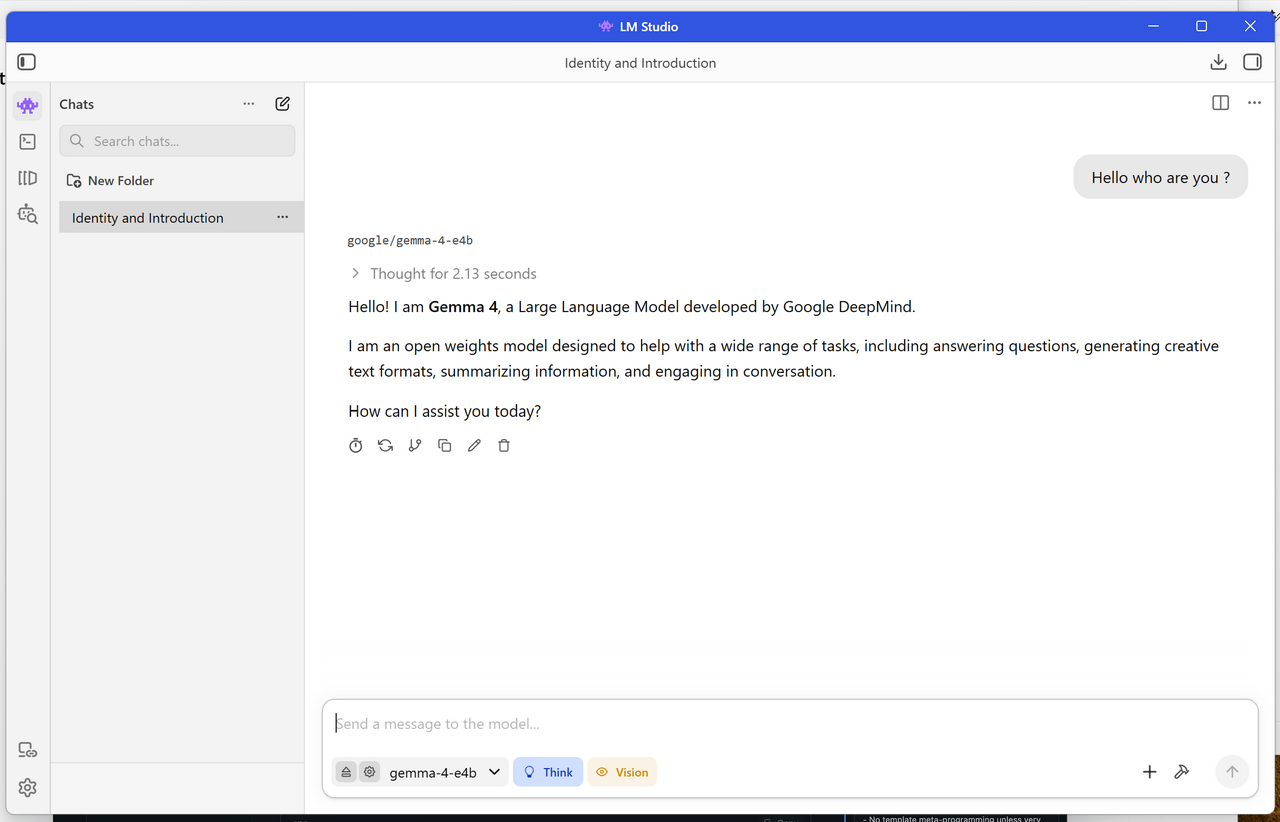
Click Chat in the sidebar to start talking to it.

That's it. You now have a local AI assistant running on your own machine. No internet required, no token costs, no data leaving your computer.

Exploring Beyond the Default

The default model is just a starting point. Click the download icon in the sidebar to browse the model library. You can search for any model that's available on HuggingFace — LMStudio will find it and download it for you.

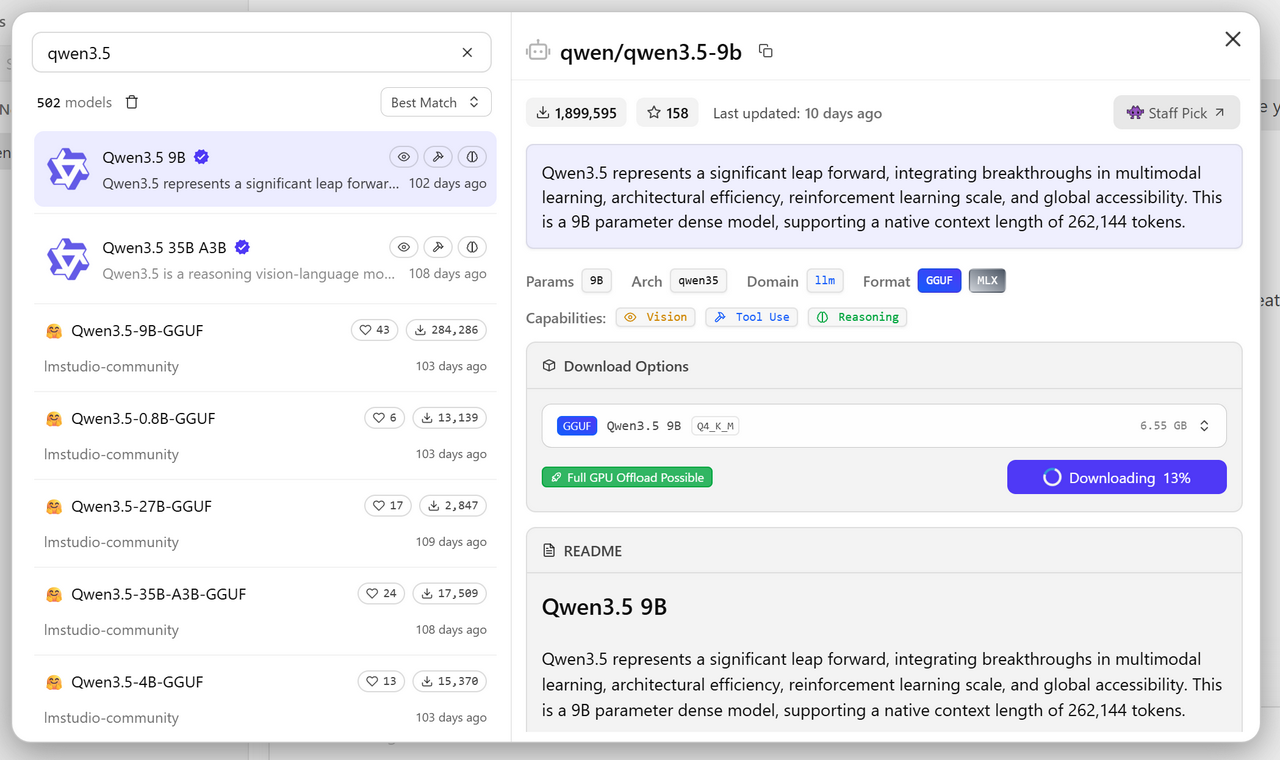
On my system, I downloaded Qwen 3.5 9B, which is probably as large as I can run comfortably. LMStudio's model browser shows you VRAM estimates for each model, which makes it easy to see what will fit.

A Note on Capability

Open-source local models have come a long way, but they still generally lag behind the biggest proprietary models (GPT-4, Claude, etc.) in raw capability. That said, for everyday tasks — writing, coding help, summarizing, brainstorming — they're more than good enough. And they're improving rapidly.

If you want to go deeper, LMStudio also has a developer mode that lets you expose your local model as an API server, which opens up integrations with VS Code, Obsidian, and other tools.

Running an LLM on your own machine isn't a gimmick. Here's why it matters:

1. Your Data Stays Yours

When you use a cloud AI, you're sending your prompts, documents, and conversations to someone else's servers. That data gets logged, potentially used for training, and exposed to whoever controls those systems. With a local model, your data never leaves your network. No logging, no third-party access, no “terms of service” changes that suddenly let them mine your conversations. It's yours. Period.

2. You're in Control

Cloud models are subject to content filters, rate limits, and policy changes you didn't agree to. They can shut off, throttle, or refuse access overnight. When you run the model yourself, you decide what it can and can't do. You can pick models that fit your needs, fine-tune them on your own data, or run them completely offline. No queueing, no “usage exceeded” errors, no waiting for a company to update their policy.

3. It Saves Money (Eventually)

Cloud AI costs add up fast — per-token pricing means every conversation has a price tag. Open-weight models are free to download and use. Assuming you already have the hardware (a decent GPU with 8GB+ VRAM gets you far), the marginal cost of running an extra conversation is basically zero. The only ongoing expense is electricity. For heavy users, local AI can save hundreds or thousands of dollars a year.

4. It Works Without Internet

No Wi-Fi? No problem. Local models don't need an internet connection to run. This isn't just a convenience, it's reliability. Your AI works when the cloud doesn't, whether that's during an outage, a network issue, or just when you want to unplug.

5. It's a Great Way to Learn AI

Using cloud AI is like ordering takeout — convenient, but you don't understand how the kitchen works. Running a local model forces you to engage with how these systems actually function: model sizes, quantization, VRAM requirements, prompt engineering. It's hands-on education in the technology that's reshaping everything.

Bottom Line

Local AI won't replace cloud models for every use case. The biggest proprietary models still lead in raw capability. But for a growing number of tasks, local models are more than good enough. They're private, they're free, they're always available, and they're getting better every month. If you've been putting it off, there's never been a better time to start.